Tags
Cocktail hindi movie, Craft, deepika padukone, DIY, Hard Rock Cafe, ripped back tshirt, Tshirt, Tshirt how-to
Hey people!
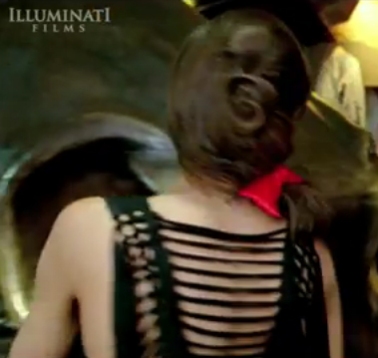
So the other day I saw this song on television and fell in love with all the clothes!! They are gorgeous. But especially – this top:
I mean, its not clear in photos, but the back is sexy! Doesn’t Deepika look hot in it? I have seen such tops before, but never felt the need to own one. Until now. And then I thought of making one. I had a black, never worn, Hard Rock Cafe t-shirt which would serve the purpose wonderfully.
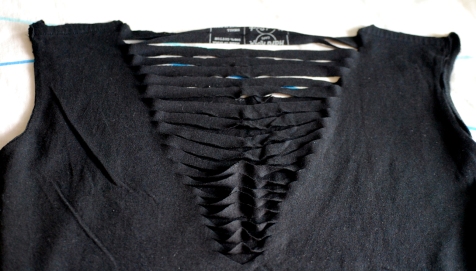
The final product!
Here’s the step-by-step instructions on how to make your own “sexy back” top (photos wherever I remembered to click- sorry!) :
1. The t-shirt had that high, choke-you neckline, so I decided to give it a boatneck first of all. With the help of a pair of scissors, cut the neck slowly. Follow the original seam so your cut will be even. If you are going for a wider neck like me, its better to mark a line with a marker etc. first, to avoid any later mishaps. I don’t know the measurements, just eyeball and go by your guts. 🙂 (The photo was taken when I was still cutting. It doesn’t show the boatneck).
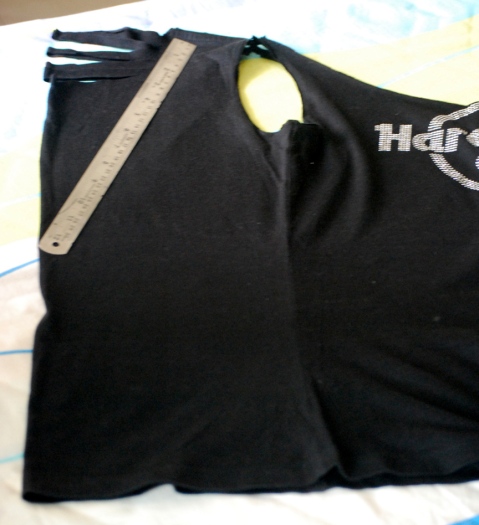
2. Fold the back of the shirt in half. Its not as tricky as it sounds. Just match up the shoulder seams. See? It will be even now.
3. Now, you have to cut a “V” at the back. Make it as wide and as deep as you carry – it will be sexier but cut only what you would be comfortable in. Use a ruler to mark the “V”. Cut thin strips all the way down. Make sure you don’t cut the front or more than you want. Don’t cut too low though. It will create issues, you will see.
4. There! Doesn’t it look nice? But we are not done yet. Now, very carefully, (and with loads of patience) take each strip one by one and stretch it out. So it rolls over itself. I love the strips at this step too, and you can leave them as it is. However, if you want something edgier, follow the next steps to create an awesome waves.
5. Let’s create a weave in those strips. Take the second strip and put it under and over the first strip. (Very important!) Keep holding the second strip, and take the third strip and place it under and over the second strip. Follow this step till you are done with all the strips. Check that you haven’t missed any strips. You can still undo it.
6. Take the last loop and cut it in half. Now, take both the ends, and knot both of them to the previous loop. This holds your wave together. And we are done here!
You very own ripped tshirt – free of cost!!! Go on, hunt for those old tees hidden in the depth of your wardrobe and create some new awesomeness.


I am so trying this using one of the boyfriend’s shirts. 😀
LikeLike
yayyiee!! 😀
LikeLike